
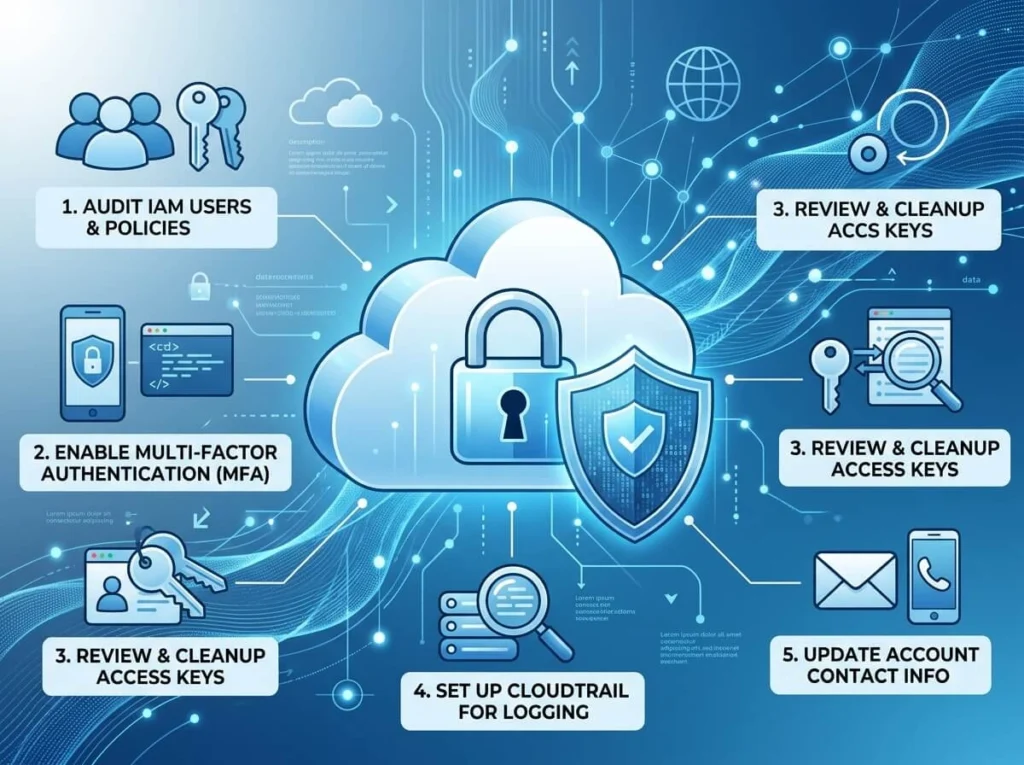
After an AWS account ownership transfer, immediately update root account credentials, enable MFA, audit IAM users and permissions, review billing settings, and rotate all access keys. Failing to complete these steps can leave your account exposed to the previous owner or unknown third parties.
Taking over an AWS account sounds straightforward—until you realize how many access points the previous owner may still control. A forgotten IAM user, an old API key, or a stale root password can leave your infrastructure wide open.
Whether you’ve acquired a business, inherited an account from a departing employee, or taken over a client’s AWS environment, the security steps you take in the first 24 hours matter enormously. This guide walks you through every action required to lock down an AWS account after an ownership transfer, so you can operate with confidence from day one.
Why AWS account security matters after a transfer
AWS accounts are high-value targets. They grant access to compute resources, stored data, databases, and often third-party integrations. When ownership changes hands, the previous owner—or anyone they granted access to—may still hold valid credentials.
The risks are real. A former owner could access or delete data, spin up expensive resources on your bill, or exfiltrate sensitive information. None of these scenarios require malicious intent; even an old access key left in a CI/CD pipeline can cause unintended damage.
A structured handover process eliminates these risks before they become problems.
Step 1: Take control of the root account
The root account is the most powerful identity in AWS. Before anything else, verify that you have sole control of it.
How to update root account credentials after an AWS transfer
- Change the root password immediately. Go to the AWS Management Console, click your account name, select Security credentials, and update the password to one that only you know.
- Update the root email address to one you own and control. This step is critical—anyone with access to the original email address can trigger a password reset and regain full account access.
- Remove any existing MFA device linked to the previous owner’s phone or authenticator app, then enroll a new MFA device that you control.
Skipping any of these three steps undermines everything else you do.
Step 2: Enable multi-factor authentication across the account
MFA adds a second layer of verification, meaning a stolen password alone is not enough to access the account.
- Enable MFA on the root account first, using a hardware token or authenticator app.
- Audit all IAM users and enable MFA for any account with console access, especially those with administrator-level permissions.
- AWS Organizations users should also enforce an MFA requirement as a Service Control Policy (SCP) if you manage multiple accounts.
AWS recommends using virtual MFA devices like Google Authenticator or Authy, or hardware keys like YubiKey, for the root account specifically.
Step 3: Audit and clean up IAM users, roles, and permissions
IAM (Identity and Access Management) is where most of the hidden risk lies after an ownership transfer. Previous owners, contractors, and third-party services may all have active credentials.
How to audit IAM users in an inherited AWS account
- Navigate to the IAM console and download the Credential Report (under Access reports). This report shows every IAM user, when they last signed in, and whether their credentials are active.
- Delete or disable any IAM users you don’t recognize or no longer need.
- Review IAM roles, particularly those with trust relationships that allow external accounts or services to assume them. Remove any that reference the previous owner’s AWS accounts.
- Check attached IAM policies for overly permissive access. Any policy granting
*(wildcard) permissions to resources should be reviewed and scoped down.
The principle of least privilege should guide every decision here—each user and service should only have access to what they genuinely need.
Step 4: Rotate or revoke all access keys
Access keys are long-lived credentials that allow programmatic access to AWS. They’re easy to forget and easy to abuse.
- From the IAM console, identify every active access key across all users.
- Revoke access keys belonging to the previous owner or any unknown users immediately.
- For keys still in use by applications, rotate them: generate a new key, update the application, confirm it works, then delete the old key.
- Check CloudTrail logs to understand what each key has been used for. Unusual API calls could indicate the key has already been misused.
AWS also recommends using IAM roles instead of long-term access keys wherever possible, particularly for EC2 instances and Lambda functions.
Step 5: Review billing, payment methods, and cost alerts
Financial exposure is a less obvious but equally important risk after an AWS transfer.
- Navigate to Billing and Cost Management and confirm that only your payment method is attached.
- Remove any saved payment methods belonging to the previous owner.
- Check for active Reserved Instances, Savings Plans, or Marketplace subscriptions that may carry ongoing costs.
- Set up AWS Budgets and billing alerts to notify you of unexpected spending. If someone is running resources in the account without your knowledge, an unexpected bill is often how you find out.
Step 6: Review CloudTrail and enable logging
AWS CloudTrail records API activity across your account. If it wasn’t enabled before the transfer, turn it on now—but also check what activity occurred prior to you taking ownership.
- Confirm that CloudTrail is active in all regions, not just your primary one.
- Review recent logs for any unusual activity: large data exports, EC2 instance launches, or S3 bucket policy changes.
- Enable AWS Config to track configuration changes going forward.
These tools won’t prevent past actions, but they give you a clear picture of your starting point and catch any suspicious activity going forward.
Step 7: Inspect S3 buckets, security groups, and publicly exposed resources
After locking down credentials, check what’s actually exposed to the public internet.
- Use AWS Trusted Advisor or AWS Security Hub to surface publicly accessible S3 buckets, open security groups, and unencrypted resources.
- Remove public access from any S3 bucket that doesn’t explicitly need it. The S3 Block Public Access setting at the account level is a good safeguard.
- Review EC2 security groups for inbound rules that allow access from
0.0.0.0/0(all IP addresses) on sensitive ports like SSH (22) or RDP (3389).
Completing your AWS account security checklist
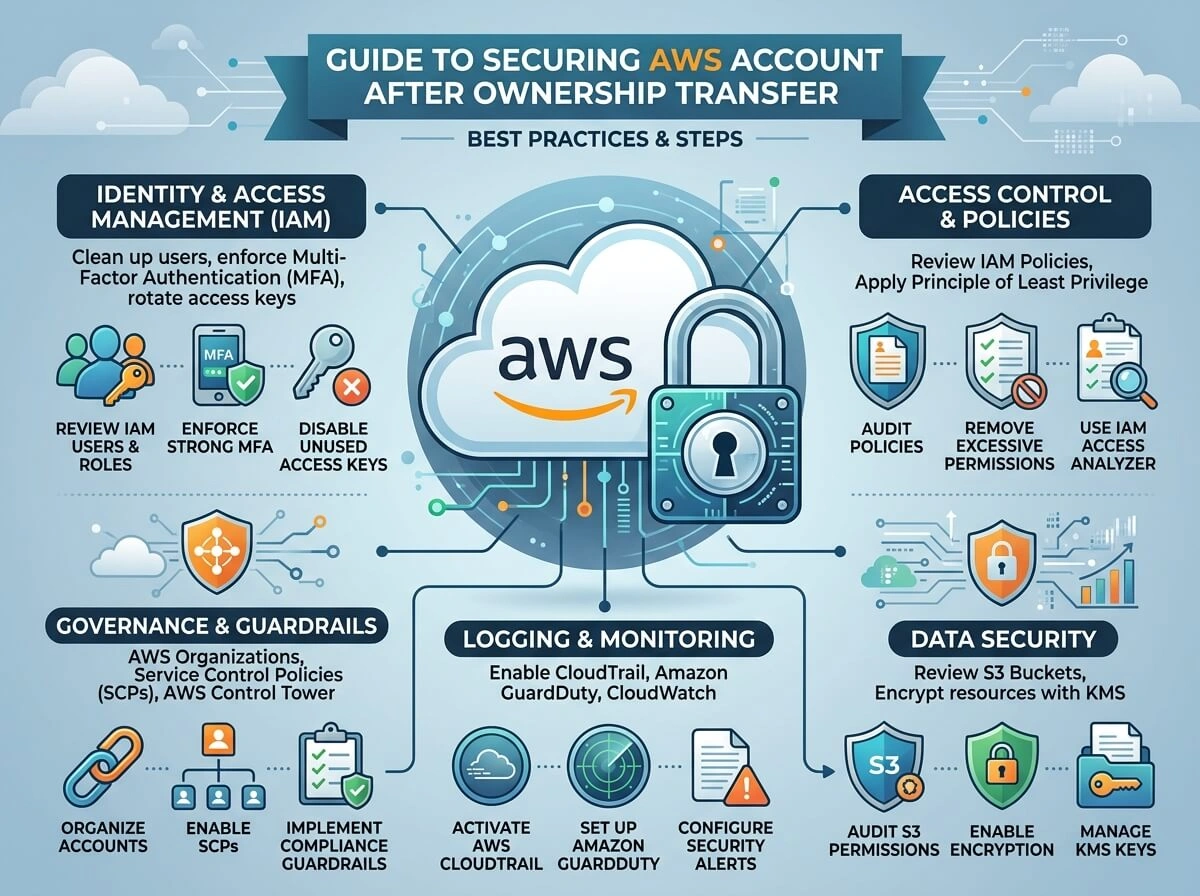
A transferred AWS account is only as secure as the steps you take on day one. Here’s a quick summary of the actions covered:
- Change the root password and email address
- Re-enroll MFA on the root account
- Audit and remove old IAM users, roles, and policies
- Rotate or revoke all access keys
- Update billing and payment information
- Enable CloudTrail and review recent activity
- Audit public-facing resources
Following this checklist closes the most common vulnerabilities introduced during an ownership transfer. From here, a regular review cadence—quarterly IAM audits, monthly cost checks, and automated Security Hub findings—will keep the account secure over time.
Frequently asked questions
What should I do first after taking over an AWS account?
Change the root account password and email address immediately. These two steps ensure the previous owner cannot trigger a password reset and regain access to the account.
How do I check if the previous owner still has AWS access?
Download the IAM Credential Report from the IAM console. It lists all users, their last sign-in date, and whether their credentials are active. Review CloudTrail logs for recent API activity to identify any access you don’t recognize.
Can a previous AWS account owner access my data after transfer?
Yes, if their credentials haven’t been revoked. Any active IAM user, access key, or role with a trust relationship to an external account can still be used until explicitly removed or disabled.
How do I check for hidden costs after an AWS account transfer?
Review the Billing and Cost Management console for active Reserved Instances, Savings Plans, and Marketplace subscriptions. Set up AWS Budgets to alert you to unexpected spending above a defined threshold.
Is it safe to keep existing IAM roles after an AWS account transfer?
Only after a thorough audit. Review each role’s trust policy to ensure it doesn’t grant access to external accounts or unknown services. Remove or update any roles that reference the previous owner’s accounts or third-party integrations you haven’t verified.
Read more info : AWS vCPU Limits Explained: 8, 32, 64, 128, 256, and 512 vCPU