
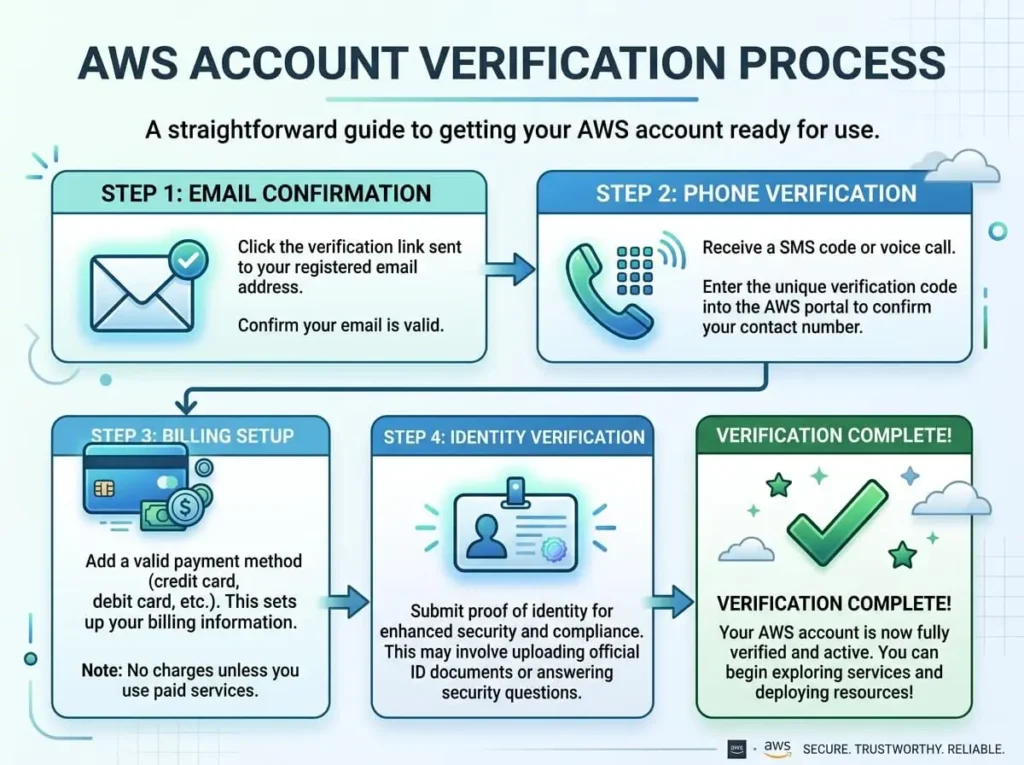
AWS account verification is a multi-step process that confirms your identity through email, phone, billing information, and identity checks. Each step serves a distinct security purpose and is required before you can access AWS services. Skipping or failing any step will limit your account’s capabilities.
Setting up an AWS account sounds straightforward—until verification starts. Suddenly, you’re confirming your email, entering a phone PIN, providing credit card details, and possibly uploading identity documents. For first-time users, this can feel like a lot. But each step exists for a reason, and understanding why makes the process far less frustrating.
This guide breaks down every stage of AWS account verification—what happens, why it’s required, and what to do when something goes wrong.
Why Does AWS Require Account Verification?
AWS hosts infrastructure for millions of businesses worldwide, from solo developers to Fortune 500 companies. That scale makes it a target. Without rigorous verification, bad actors could spin up thousands of compute instances for cryptocurrency mining, spam campaigns, or worse—then disappear without paying.
Verification protects both AWS and legitimate users. It ensures that every account is tied to a real person with a valid payment method, reducing fraud and abuse on the platform.
Step 1: Email Verification
The first thing AWS asks you to do after creating an account is verify your email address. AWS sends a confirmation link to the email you registered with. Click it, and you’re done.
Simple—but important. Your email address becomes the primary login identifier and the main channel for security alerts, billing notifications, and service updates.
Common issues:
- The verification email lands in spam. Check your junk folder before requesting a resend.
- The link expires. AWS verification links are time-limited, so act promptly.
- Typo in the email address. If you mistyped your email during signup, you’ll need to contact AWS Support to correct it.
Once email verification is complete, AWS moves you to the next step automatically.
Step 2: Phone Verification
AWS verifies your phone number to confirm you’re a real person with access to a real device. During this step, AWS calls or texts your phone with a PIN. You enter that PIN on-screen to proceed.
This step typically takes less than two minutes. AWS supports both mobile and landline numbers, though SMS delivery to landlines isn’t possible—opt for a voice call instead if you’re using one.
What to watch for:
- International numbers are supported, but make sure you select the correct country code.
- If the call or SMS doesn’t arrive within a few minutes, use the resend option. Repeated failures may indicate a carrier-side issue.
- VoIP numbers (like Google Voice) are sometimes rejected. Use a standard mobile or landline number if you run into problems.
Step 3: Billing Information and Credit Card Verification
AWS requires a valid credit or debit card before granting full account access. This isn’t a payment upfront—it’s a temporary authorization charge (typically $1 USD) that confirms the card is real and active. AWS reverses this charge within a few business days.
Accepted payment methods vary by region, but major credit cards (Visa, Mastercard, American Express) and debit cards are broadly supported. Prepaid cards are generally not accepted.
Why this matters: Even if you plan to stay within the AWS Free Tier, billing information is mandatory. AWS needs a payment method on file in case your usage exceeds free tier limits.
Tips to avoid issues:
- Make sure your card’s billing address matches what you enter in AWS exactly.
- Notify your bank if you’re expecting the authorization charge—some banks flag it as suspicious and block it.
- If your card is declined, double-check that it supports international transactions, since AWS charges originate from the United States.
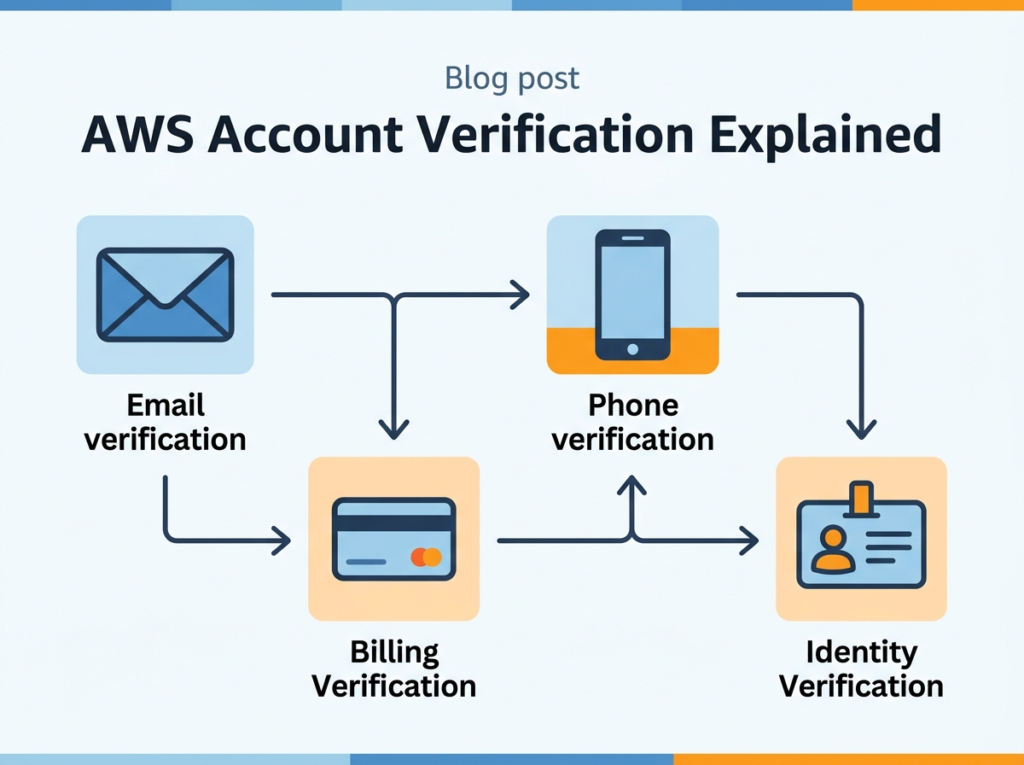
Step 4: Identity Verification (When It’s Required)
Not every AWS account goes through identity verification, but some do. AWS may request additional identity checks based on your country, account activity, or if automated systems flag your registration as potentially fraudulent.
When identity verification is triggered, AWS typically asks for:
- A government-issued photo ID (passport or driver’s license)
- Proof of address (utility bill, bank statement)
- In some cases, a selfie or video verification through a third-party identity verification service
AWS uses partners like ID.me or similar services to handle this process securely. Documents are reviewed and a decision is usually returned within a few hours, though it can take up to 24 hours in some cases.
What to do if your identity verification fails:
- Ensure documents are clear, unobstructed, and fully visible.
- Use the exact name and address that appears on your documents when filling out your AWS profile.
- If verification continues to fail, contact AWS Support directly—they can manually review your account.
How Long Does AWS Account Verification Take?
For most users, the full verification process—email, phone, and billing—takes fewer than 10 minutes. Identity verification, when required, adds anywhere from a few hours to one business day.
AWS typically activates accounts within 24 hours of completing all verification steps, though many accounts become active almost immediately after billing verification is confirmed.
What Happens If Your AWS Account Gets Suspended During Verification?
AWS may place an account in a suspended state if verification steps aren’t completed within a reasonable timeframe, or if billing information can’t be confirmed. A suspended account can’t launch new resources, though existing ones may continue running temporarily.
To resolve a suspension, log into the AWS Management Console—AWS will display a prompt explaining what’s needed. In most cases, updating your payment method or completing a pending verification step resolves the issue quickly. If the console doesn’t surface a clear next step, opening a support ticket with AWS is the fastest path forward.
Best Practices for a Smooth AWS Verification Experience
A few habits significantly reduce the chance of hitting a snag:
- Use a business email address if you’re setting up an account for an organization. Personal email addresses tied to free providers occasionally trigger extra scrutiny.
- Keep your contact information consistent across email, phone, billing, and identity documents. Mismatches raise flags.
- Monitor your inbox closely during the verification window. AWS sends time-sensitive communications throughout the process.
- Don’t use shared or virtual phone numbers for verification. AWS’s phone validation systems reject many VoIP services.
- Enable Multi-Factor Authentication (MFA) as soon as your account is active. AWS strongly recommends MFA on the root account, and it’s one of the most effective ways to protect your account long-term.
Start on the Right Foot With AWS
AWS account verification isn’t bureaucratic red tape—it’s infrastructure-grade security applied at the account level. Each verification layer reduces risk, deters abuse, and ensures that the services you build on AWS remain stable and protected.
If you’re setting up AWS for the first time, set aside 15–30 minutes, have your phone and credit card nearby, and follow each step as it appears. For most users, the process is quick and painless. And when it isn’t, AWS Support is available 24/7 to help you troubleshoot.
Frequently Asked Questions
Does AWS charge a fee for account verification?
AWS places a temporary authorization hold of approximately $1 USD on your credit or debit card during billing verification. This is not a charge—it’s reversed within a few business days and is simply used to confirm your payment method is valid.
Can I use a prepaid card to verify my AWS account?
Generally, no. AWS does not accept prepaid or virtual cards for account verification. You’ll need a standard credit or debit card issued by a recognized financial institution.
How long does it take for an AWS account to become fully active?
Most accounts are activated within minutes of completing billing verification. In some cases, AWS states that activation can take up to 24 hours. Identity verification, if triggered, may extend this timeline.
What should I do if I don’t receive the AWS verification email?
Check your spam or junk mail folder first. If the email isn’t there, return to the AWS signup page and request a new verification email. If you entered your email address incorrectly during signup, contact AWS Support to correct it.
Is identity verification required for all AWS accounts?
No. Identity verification is not a standard requirement for every account. AWS triggers it selectively based on region, risk signals, or account activity. If you’re asked to complete identity verification, follow the on-screen instructions and use clear, accurate documentation.
You can also visit our websit read more info.